Templates
Attention
The reports in the Document Creator W1 Templates extension are going to be replaced by the reports in the Document Creator extension, from version 2.0 onwards / for the Microsoft Dynamics 365 Business Central 2022 release wave 2 (April 1st, 2022; Version 20.0). The reports offer the same (and more(!)) functionality, and are directly available from the Document Creator extension itself, with extension-provided, default report layouts that you do not have to import manually.
It is recommended to use the reports from the Document Creator extension, which will receive automatic updates (with no breaking changes being made to the report datasets).
Document Creator provides a set of templates for reports, layouts and translations which can be accessed through the Download link on our website.
The Document Creator Templates package includes the following files:
| Filename | Description |
|---|---|
| Document Creator Translations - CRONUS.zip | A ZIP file with report label translations for the W1-based report templates for language codes DEU, ENG, ENU, FRA, NLD. |
| Document Creator W1 Templates.Source.zip | A ZIP file containing the source code of the Document Creator W1 Templates extension. |
| LayoutPackage_W1.dcr | A Document Creator Layout Package for the reports in the Document Creator W1 Templates extension. |
| Apportunix_Document Creator W1 Templates.app | The Document Creator W1 Templates extension. |
Info
The Document Creator W1 Templates extension includes reports for the following documents:
- Sales
- Quote
- Order Confirmation
- Invoice
- Credit Memo
- Shipment
- Return Order
- Return Receipt
- Blanket Order
- Draft Invoice
- Pro Forma Invoice
- Picklist
- Work Order
- Purchase
- Quote
- Order
- Invoice
- Credit Memo
- Receipt
- Return Order
- Return Shipment
- Blanket Order
- Reminder / Finance Charge
- Reminder
- Issued Finance Charge Memo
- Transfer
- Order
- Receipt
- Shipment
- Service
- Quote
- Order
- Invoice
- Credit Memo
- Shipment
- Pro Forma Invoice (Posted Shipment)
- Draft Invoice
- Picklist
- Contract
- Service Item Worksheet
- Assembly
- Order
- Posted Order
- Job
- Quote
- Warehouse
- Shipment
- Posted Shipment
- Receipt
- Posted Receipt
- Pick List
- Inventory Pick List
- Movement List
- Inventory Movement List
- Put-Away List
- Inventory Put-Away List
W1 Templates Installation
To install the W1 Template reports and corresponding layouts, please follow these steps:
Info
For on-premises environments, you can use the Admin PowerShell cmdlets to publish the app in case External Deployment is not enabled.
- On the Home Page, select the Setup & Extensions dropdown
- Select Extensions, this will open the Extension Management page.
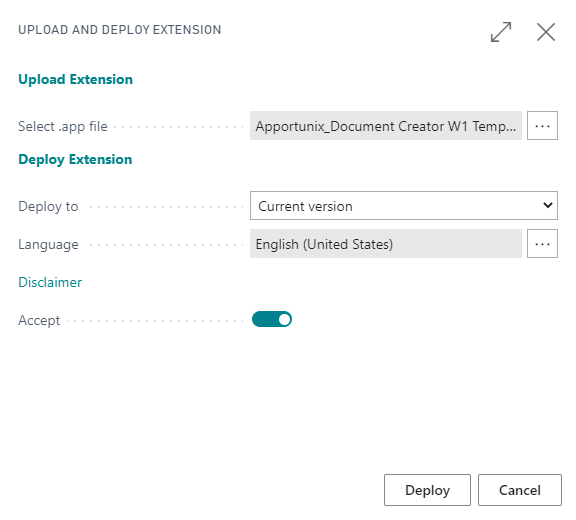
- Invoke the Manage > Upload Extensions action, this will open the Upload and Deploy Extension page.
- Select the
Apportunix_Document Creator W1 Templates_<version>.appfile via the AssistEdit-button of the Select .app file field. - Enable the Accept toggle.
-
Select Deploy.
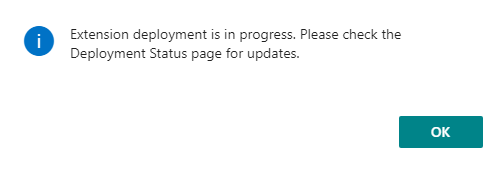
-
Wait for the extension to be deployed. A message should show up to inform you that the extension deployment is in progress.
-
Once the deployment has finished, the Document Creator W1 Templates extension will show up in the Extension Management page. If a previous version was installed, you will see the previous version has been uninstalled and the new version is now installed.

-
Assign the permission set to the appropriate users.
- Use the Tell Me search feature to search for and open up the Report Layouts page.
-
Invoke the Document Creator > Import Layout Package... action and select the
LayoutPackage_W1.dcrfile to import the layouts. See Layout Packages.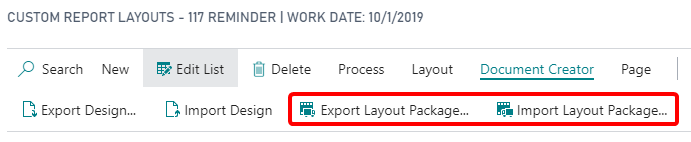
-
Select the newly imported layouts and use the Fast Report Layout Selections... action to configure the layout selections for the reports. See Fast Report Layout Selection Action.

-
To have the W1 Template reports used when your documents are printed, you need to configure Report Selections for each document type. You can configure report selections in the Report Selection - * pages in Dynamics 365 Business Central.
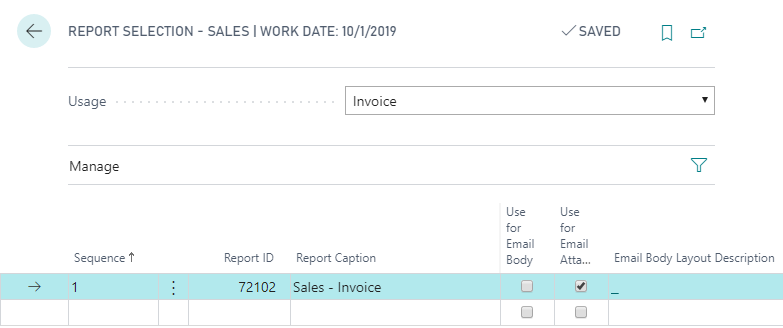
Example
To set up report 72102 Sales - Invoice to be used when a Posted Sales Invoice is printed, search and open the Report Selection - Sales page, choose Usage = Invoice and select this report in the Report ID field of the record.
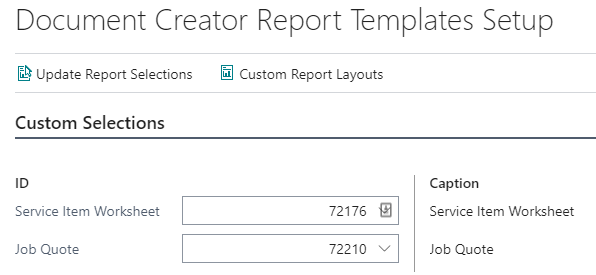
Info
For some documents, Business Central does not provide selections. However, Document Creator allows you to replace reports such as the "Job Quote" and "Service Item Worksheet" in the Custom Selections tab in the Document Creator W1 Template Reports Setup page.
Import Translations Template
To import the translations for the report templates, please follow these steps:
- Open the Document Creator Translations page.
-
Invoke the Import Translations action.

-
Select the
Document Creator Translations - CRONUS.zipfile, and wait for the import to complete. - The template translations have now been imported.
Adhering to Legal Requirements
Please note that the report templates are set up to meet global requirements as much as possible. However, depending on where you do business, you may need to adhere to additional legal requirements and adjust your report layouts accordingly.
Intra-Community Delivery (EU)
If your company sells and/or exports goods to companies settled in other countries in the European Union, then this is known as "Intra-Community Delivery/Supply" (N.B., the customer should have a valid EU VAT Registration number). For this type of delivery, the "Reverse Charge" VAT Calculation Type should apply, which means that a 0% VAT rate applies but will not be charged (i.e., please check your "VAT Posting Setup" in Business Central carefully). However, on your invoices it is required that you state that an "Intra-Community Supply" applies, e.g.:
VAT zero-rated intra-community supply of goods following article 138 Directive 2006/112/EC
Additionally, both VAT Registration Nos. (from seller and customer) should be visible on the invoices as well.
The Document Creator W1 Template reports already facilitate the data that you can use to add this to your invoice report layouts.
Under the InvHdr dataitem, you can find a IntraCommDeliveryTxt column which contains the text to be shown when an intra-community delivery applies.
You can add a TextObject to your report layout and set a condition so that the text is only shown when applicable (e.g., use the VisibleExpression property and set it to [Total.ReverseChargeVATExists], or check the value of the [InvHdr.VATBusPostingGroup] instead).
VAT Rates on Invoices
Even if a 0% VAT rate applies when exporting your goods, your company may still need to show the VAT rate(s) even if a VAT amount of "0" is being charged. The Document Creator W1 Template reports already facilitate this, i.e., if VAT applies, then the VAT rate(s) (N.B. one or multiple) will always be shown (together with their corresponding amounts). Of course, if you wish to change this, then you can edit the report layouts accordingly.